Table of Contents |
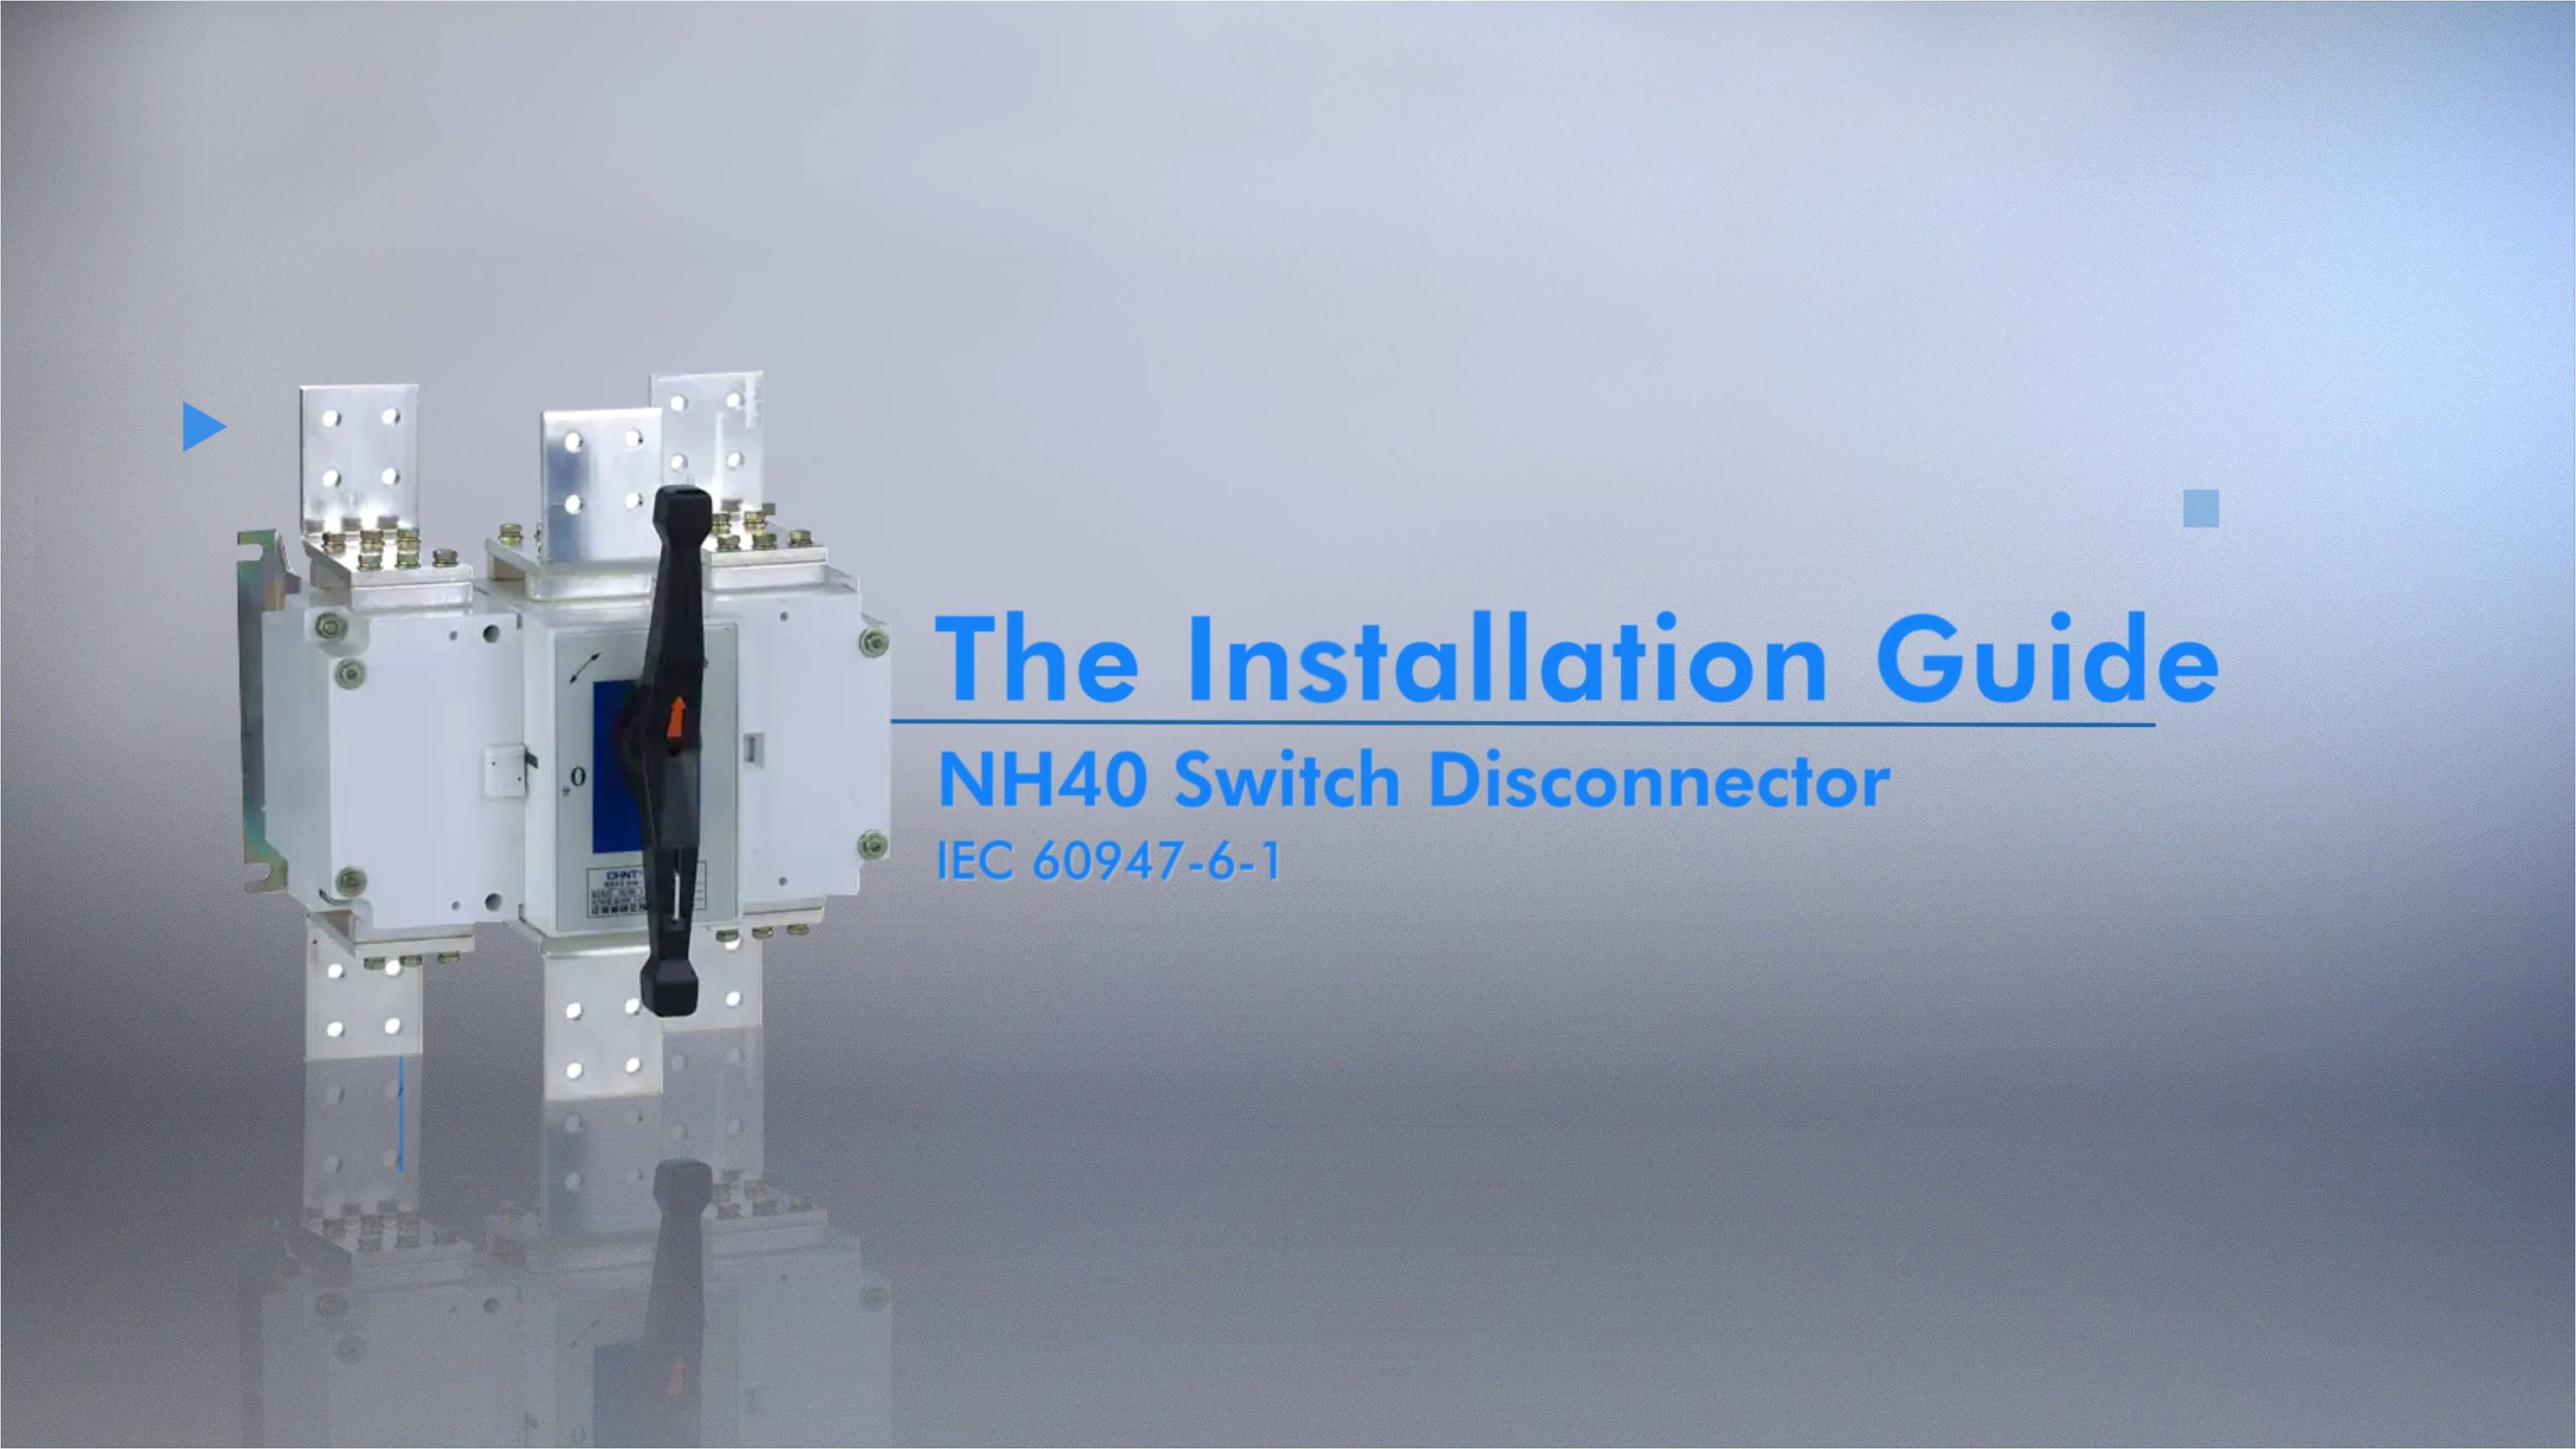
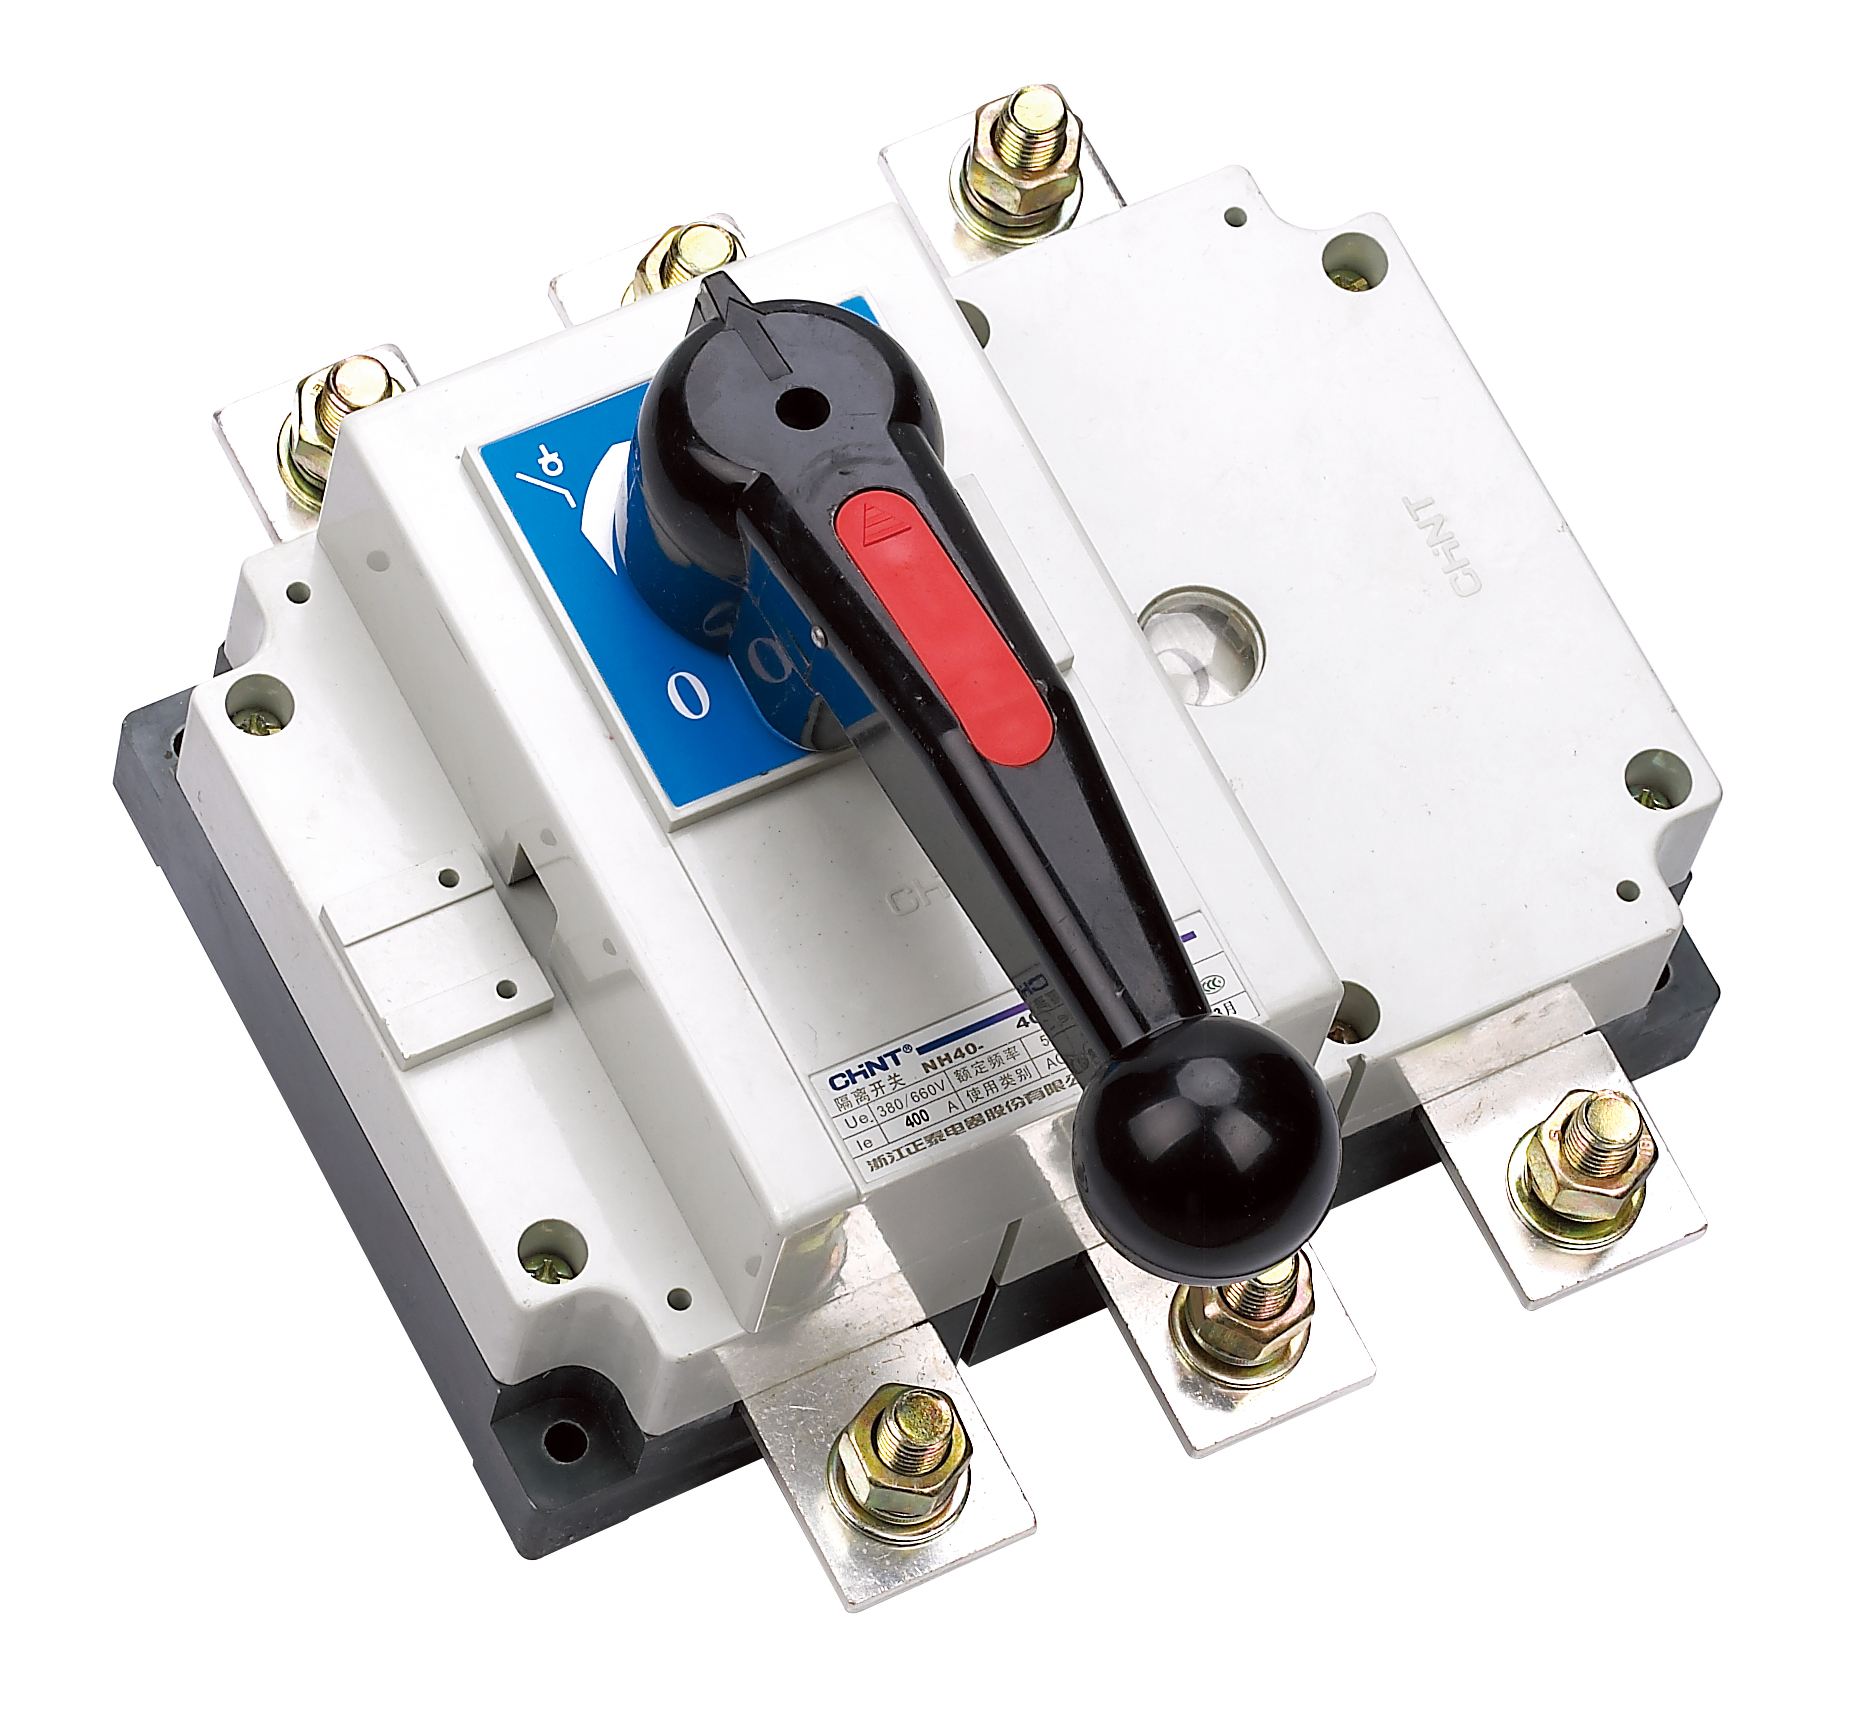
The NH40 Switch Disconnector is designed for efficient power distribution and circuit management. It is a robust device. It enables precise control of electrical circuits in industrial settings. It allows for safe disconnection and connection of power supplies.
This guide navigates the complete installation process of NH40. It covers all key aspects, from essential preparation and mounting techniques to testing procedures, troubleshooting, and more. The objective is to help ensure the successful installation, commissioning, and operation of this device.
Preparation
Getting ready for installation requires careful planning and attention to safety protocols.
1. Safety Instructions
Before proceeding, disconnect the power supply. This critical first step prevents potential electrical hazards. Wear appropriate protective gear. This includes insulating gloves and safety glasses.
2. Tools and Materials
Gathering the right tools is key. It helps ensure a successful installation. Here’s what you will need:
- Multimeter
- Open-end wrenches
- Electric drill
- M8 screws
- Copper bars
- Hexagon socket
Installation Steps of NH40 Switch Disconnector
Careful installation ensures optimal performance and longevity of the 125A switch disconnector. Follow these guidelines:
1. Pre-Installation
Confirm that the switch disconnector matches the specific electrical requirements of your installation site. Check compatibility with existing electrical infrastructure and make sure that the selected location meets mounting specifications.
Carefully review the installation manual. Pay close attention to technical specifications and recommended procedures.
2. Mounting
Position the switch disconnector carefully. Make sure it aligns perfectly with the mounting points. Use appropriate tools to maintain precise positioning during installation.
Secure the switch to the connecting copper busbars using an M18 hexagon socket and open-end wrenches.
How to Test NH40 Switch Disconnector
Follow these steps to validate the proper installation and functionality of the NH40 Switch Disconnector:
1. Before Powering On
Carefully check the handle movement to confirm the smooth operation. Verify all switch disconnector connections are secure and components are correctly positioned. Ensure no loose connections or potential electrical hazards exist.
2. Power-On Verification
Use a multimeter to systematically check continuity and voltage readings. When the switch is off, the A, B, and C phase incoming line terminals should be about 230V against the neutral line; the A, B, and C phase outgoing line terminals should be below 20 volts against the neutral line.
When the switch is closed, the voltage between the A, B, and C phase output terminals should be about 230V against the neutral line.
When the switch is disconnected again, the A, B, and C phase output terminals return below 20V against the neutral line.
Double-check that handle positions correctly correspond to “0” and “I” states. Verify the observation window accurately reflects the switch’s current operational status. Make sure that all settings meet the required operational parameters.
Troubleshooting
Effective troubleshooting requires systematic identification and resolution of potential installation or operational issues.
Symptom |
Cause |
Solution |
Terminal Block Not Tightened |
Wiring screw stripped/stuck |
Replace product |
Insufficient wiring torque |
Tighten terminal screws correctly |
|
No Electricity |
Wire stripping is too short |
Re-strip wire to an appropriate length |
Loose wiring connections |
Tighten terminal screws securely |
|
Terminal Shell Overheating |
Loose terminals |
Replace product and wires |
Inadequate wire cross-section |
Use appropriate wire specifications |
|
Indication Window Failure |
Incorrect handle positioning |
Replace product |
Detailed Introduction to NH40 Switch Disconnector
At CHINT, our NH40 Switch Disconnector is a high-performance electrical solution designed for demanding industrial environments. This 125A~630A switch disconnector boasts advanced electrical switching technology and combines robust design with exceptional performance. Its key characteristics include:
- Rated Voltage Up to AC 690V: Handles high-voltage applications with exceptional stability and performance.
- Supports Frequencies of 50Hz: Ensures consistent electrical performance across standard industrial power systems.
- Current Capacity up to 3150A: Delivers powerful electrical management for large-scale industrial installations.
- Robust Design for Industrial Power Distribution Equipment: Withstands harsh environmental conditions and mechanical stress.
- Compliant with IEC/EN60947-3 Standards: Meets rigorous international electrical safety and performance regulations.
Conclusion
Installing the NH40 Switch Disconnector requires careful preparation, execution, and extensive testing. Follow the essential steps listed above to ensure safe and efficient installation. At CHINT, we stand behind our products with comprehensive technical support and expertise. Our NH40 Switch Disconnector is designed to meet the most demanding industrial requirements. Browse our website to learn more about our electrical solutions.


