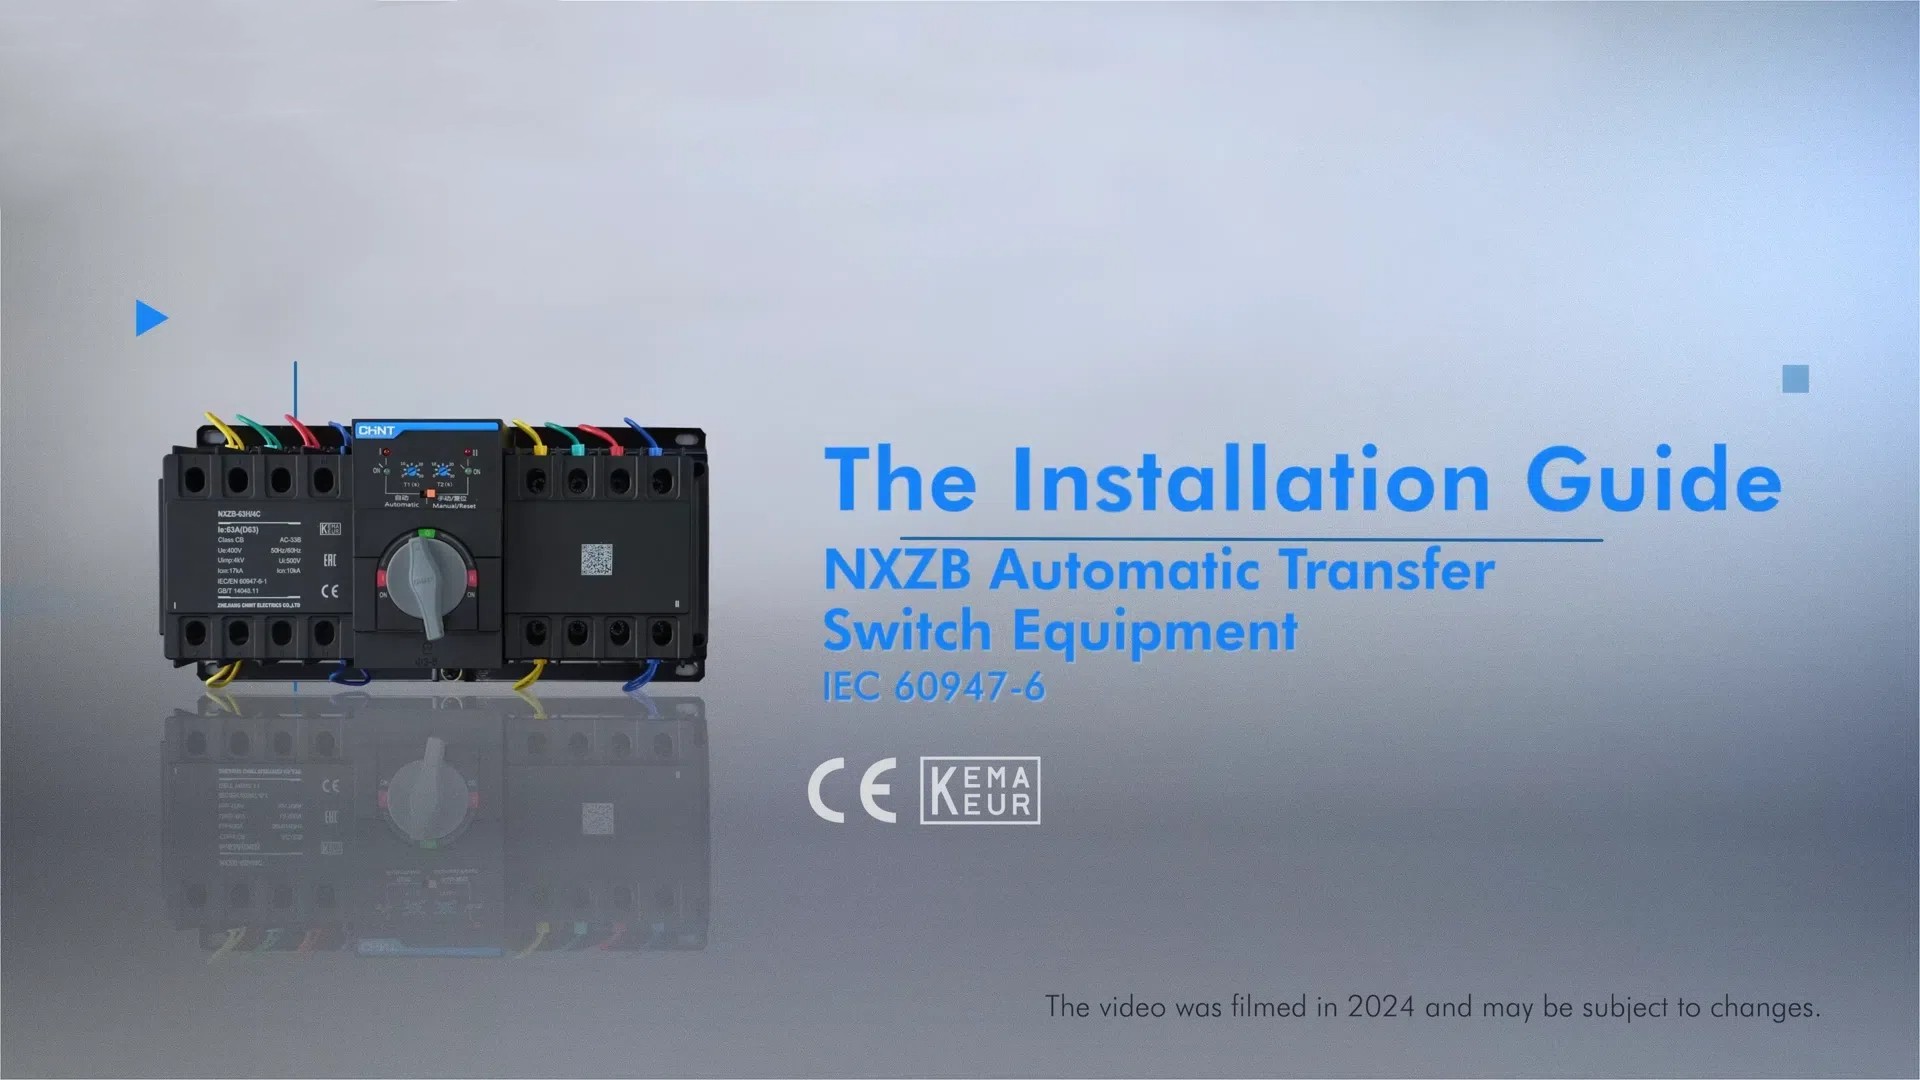
Table of Contents |
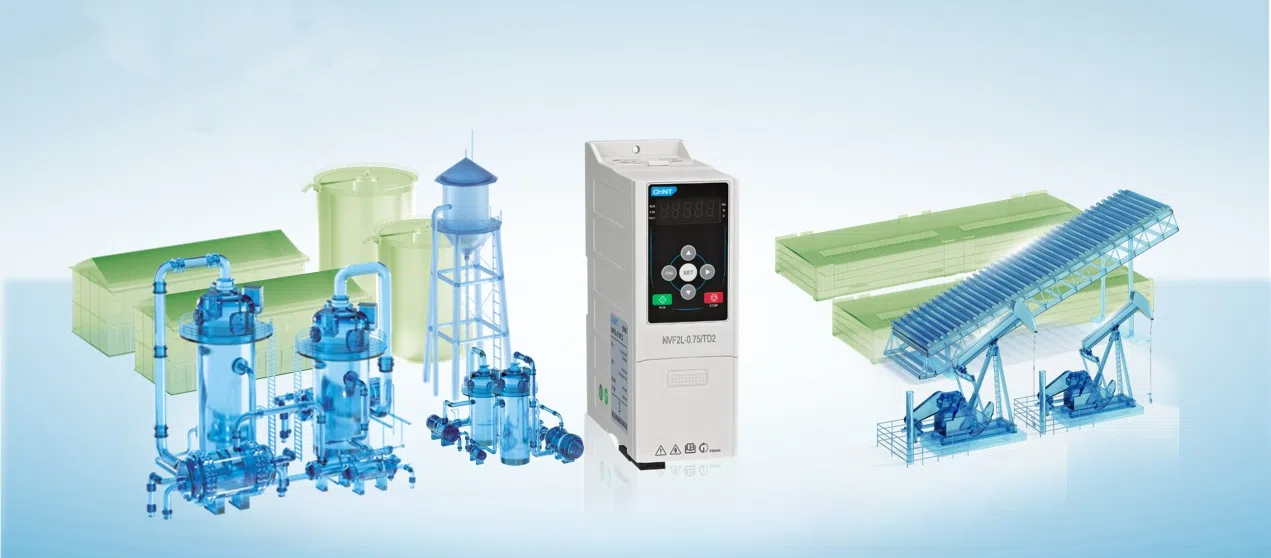
Electromagnetic starters are critical components in industrial electrical systems. They enable efficient motor control and protection. The NQ3 DOL electromagnetic starter is a reliable solution. It’s designed for managing electrical equipment with precision and safety. This guide provides step-by-step installation instructions. The aim is to help you navigate the setup of this DOL starter with confidence.
Necessary Tools for the Installation
Installing an NQ3 DOL starter requires specific tools. Here’s what you’ll need:
- M20×1.5 nylon waterproof wire connector
- Screws (not less than M5)
- Hammer
- Wire strippers
- Wire crimping pliers
- Appropriate specification wires
- Wire noses
- Electric screwdriver
- Flat-head screwdriver
- Insulating gloves
- Multimeter

Steps of Installation
Successful installation of this DOL starter demands a systematic approach. Follow these guidelines.
1. Pre-installation Check
Before beginning the installation, verify that the motor starter model matches the intended working conditions.
Carefully select an installation location that provides adequate ventilation. It should provide protection from direct sunlight.
Minimal exposure to moisture or extreme temperatures is also ideal for direct online starters.
2. Disassembly
Carefully loosen the screws connecting the upper cover and base of the DOL starter.
Remove the upper cover and extract the protective bubble film inside the product, preparing the motor starter for installation.
3. Base Preparation and Installation
Use a flat-head screwdriver and hammer to remove knockout holes on both sides of the base.
Install the M20×1.5 nylon waterproof wire connector at the corresponding installation holes.
Make sure to select the appropriate screws to securely mount the base at the chosen installation location.
4. Wire Preparation
Select wires with the appropriate cross-sectional area based on the current rating of the direct online starter. Refer to these:
In(A) |
0<|≤8 |
8<|≤12 |
12<|≤20 |
20<|≤25 |
S(Cu) mm(2) |
1 |
1.5 |
2.5 |
4 |
Next, use wire strippers to strip 9 to 11 mm of the copper wire, ensuring clean and precise preparation.
5. Connections
Use wire crimping pliers to crimp wire noses onto the copper wire ends. For NQ3 incoming and outgoing wires, pass the wires through the waterproof connector.
Then, tighten the nylon waterproof cable connector.
Identify the primary circuit incoming terminals (contactors 1/L1, 3/L2, and 5/L3) and outgoing terminals (thermal relays 2/T1, 4/T2, and 6/T3). Refer to this table for torque value:
Model Number |
NQ3-11P |
|
Fastening Screw Size |
M3.5 |
M4 |
Tightening Torque (N.m.) |
1.2 |
|
6. Grounding
Connect the ground wire to the ground screw on the base and tighten securely to establish a proper electrical safety connection.
7. Finalization
Tighten the waterproof connector nut to ensure the rubber inside grips the wire. The aim is to ensure it provides robust protection against environmental factors.
How to Test the NQ3
Test the DOL starter to make sure it functions correctly. Here are key testing guidelines:
- Before powering on, confirm the smooth operation of the STOP and RESET buttons by manually pressing and checking their responsiveness.
- Set thermal relay current value 10-15% below the motor’s rated working current for initial calibration.
- Monitor direct online starter performance during initial test run, watching for any unusual vibrations or sounds.
- Gradually increase the current setting if the motor starter operates without unexpected tripping or overload.
- After powering on, use a multimeter to perform a continuity test across AC contactor terminals, checking for proper electrical connectivity.
- After successful debugging, carefully reassemble the upper cover and base, ensuring all screws are tightened securely.
Troubleshooting Guide
Potential issues can arise during DOL starter installation or operation. Here are detailed case studies with troubleshooting approaches:
Analysis and Troubleshooting of Common Faults |
||
Symptom |
Cause Analysis |
Troubleshooting Methods |
The starter malfunctions prematurely without overload |
The current value of the thermal relay is smaller than the actual working current of the motor |
Fine-tune the current dial to match the product's current value with the actual motor current value |
Strong shock or vibration |
Check the installation site, eliminate faults, and ensure that the product is not exposed to strong shock or vibration |
|
Frequent motor starting |
The motor needs to be started at certain intervals, and the frequency should not exceed 30 times/hour |
|
The cross-sectional area of the primary circuits connecting wire is too small |
Select standard wire according to Table 4 |
|
The starter does not work due to overload |
The current value of the thermal relay is greater than the actual working current of the motor |
Fine-tune the current dial to match the product's current value with the actual motor current value |
The cross-sectional area of the primary circuit connecting wire is too large |
Select standard wire according to Table 4 |
|
Starter not working |
The starter wiring is loose or detached |
Tighten the wiring screws and check whether the screws are loose |
The coil voltage is too low or fluctuates too much |
Increase the power supply voltage or add voltage stabilizing device |
|
The current value of the thermal relay is too small, and the product does not reset |
Tune the current dial towards the high current direction |
|
The contact is not energized |
Return to the manufacturer for repair |
|
Conclusion
Installing an NQ3 DOL starter requires precision, careful preparation, and a systematic approach. By following these detailed guidelines, you can ensure a safe and efficient installation. If you are encountering issues or have queries, feel free to consult our technical support team at CHINT. Browse our website to explore our motor starters and electrical solutions.