Table of Contents |
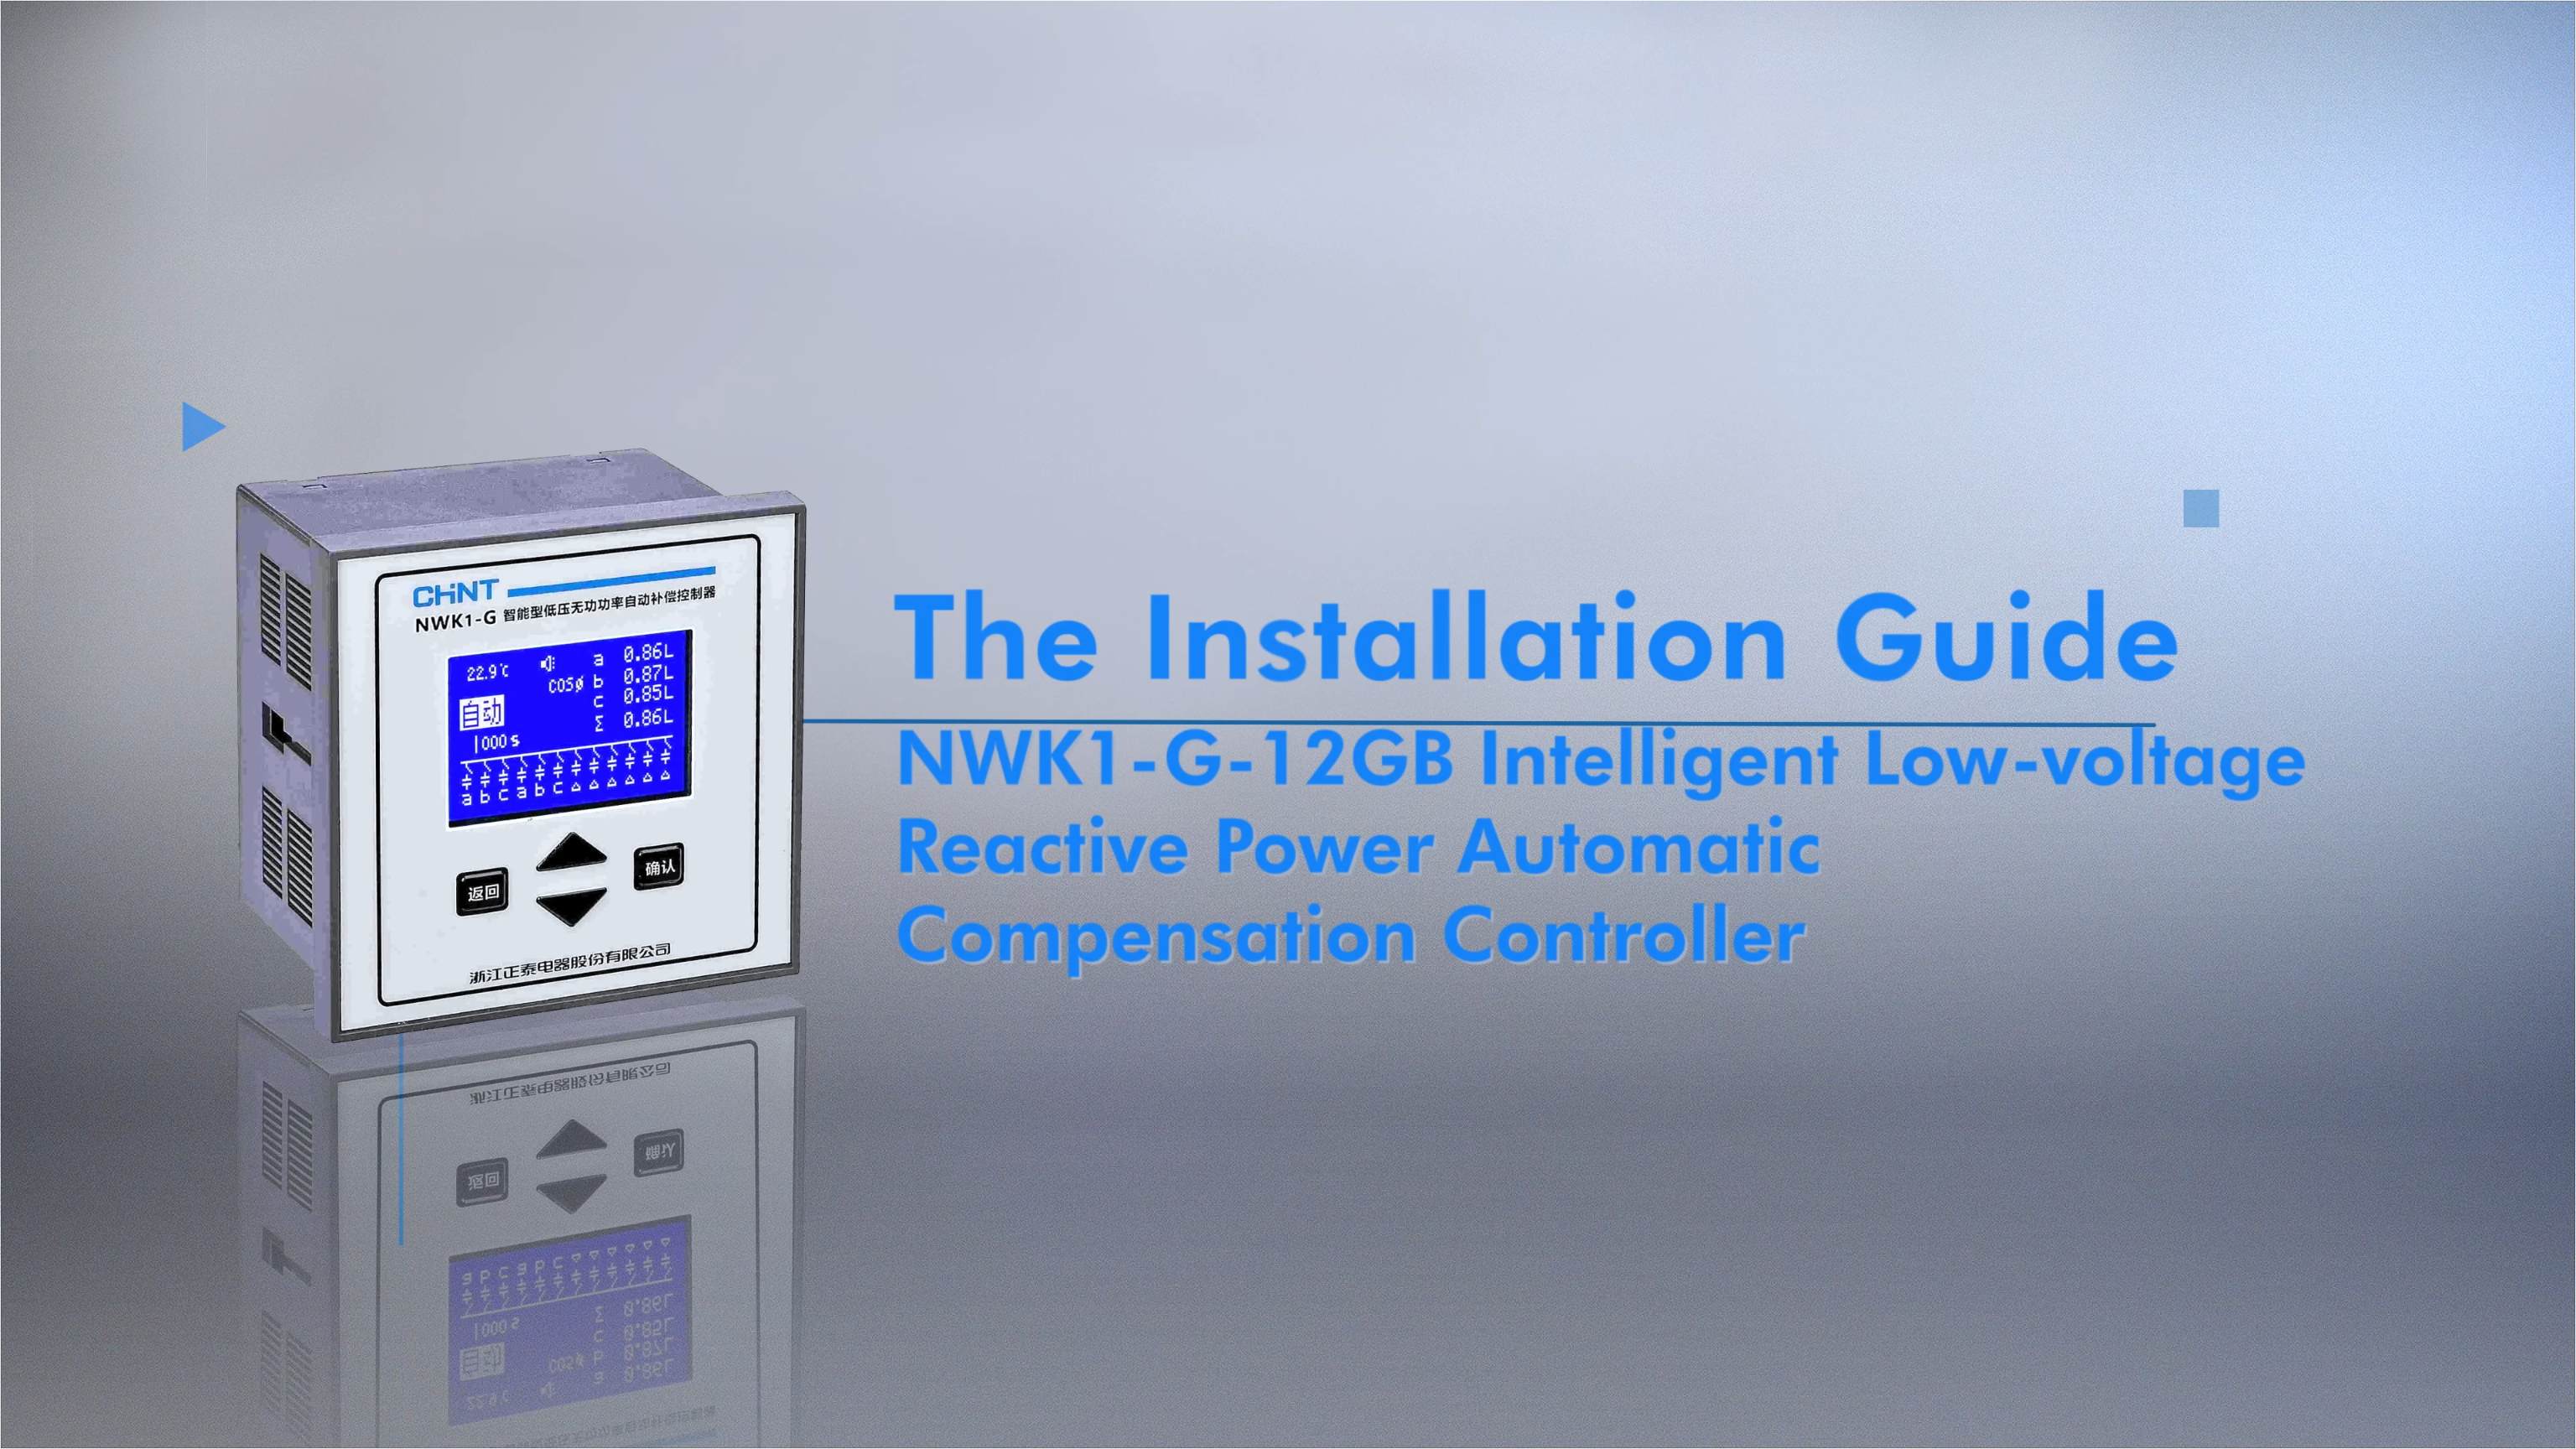
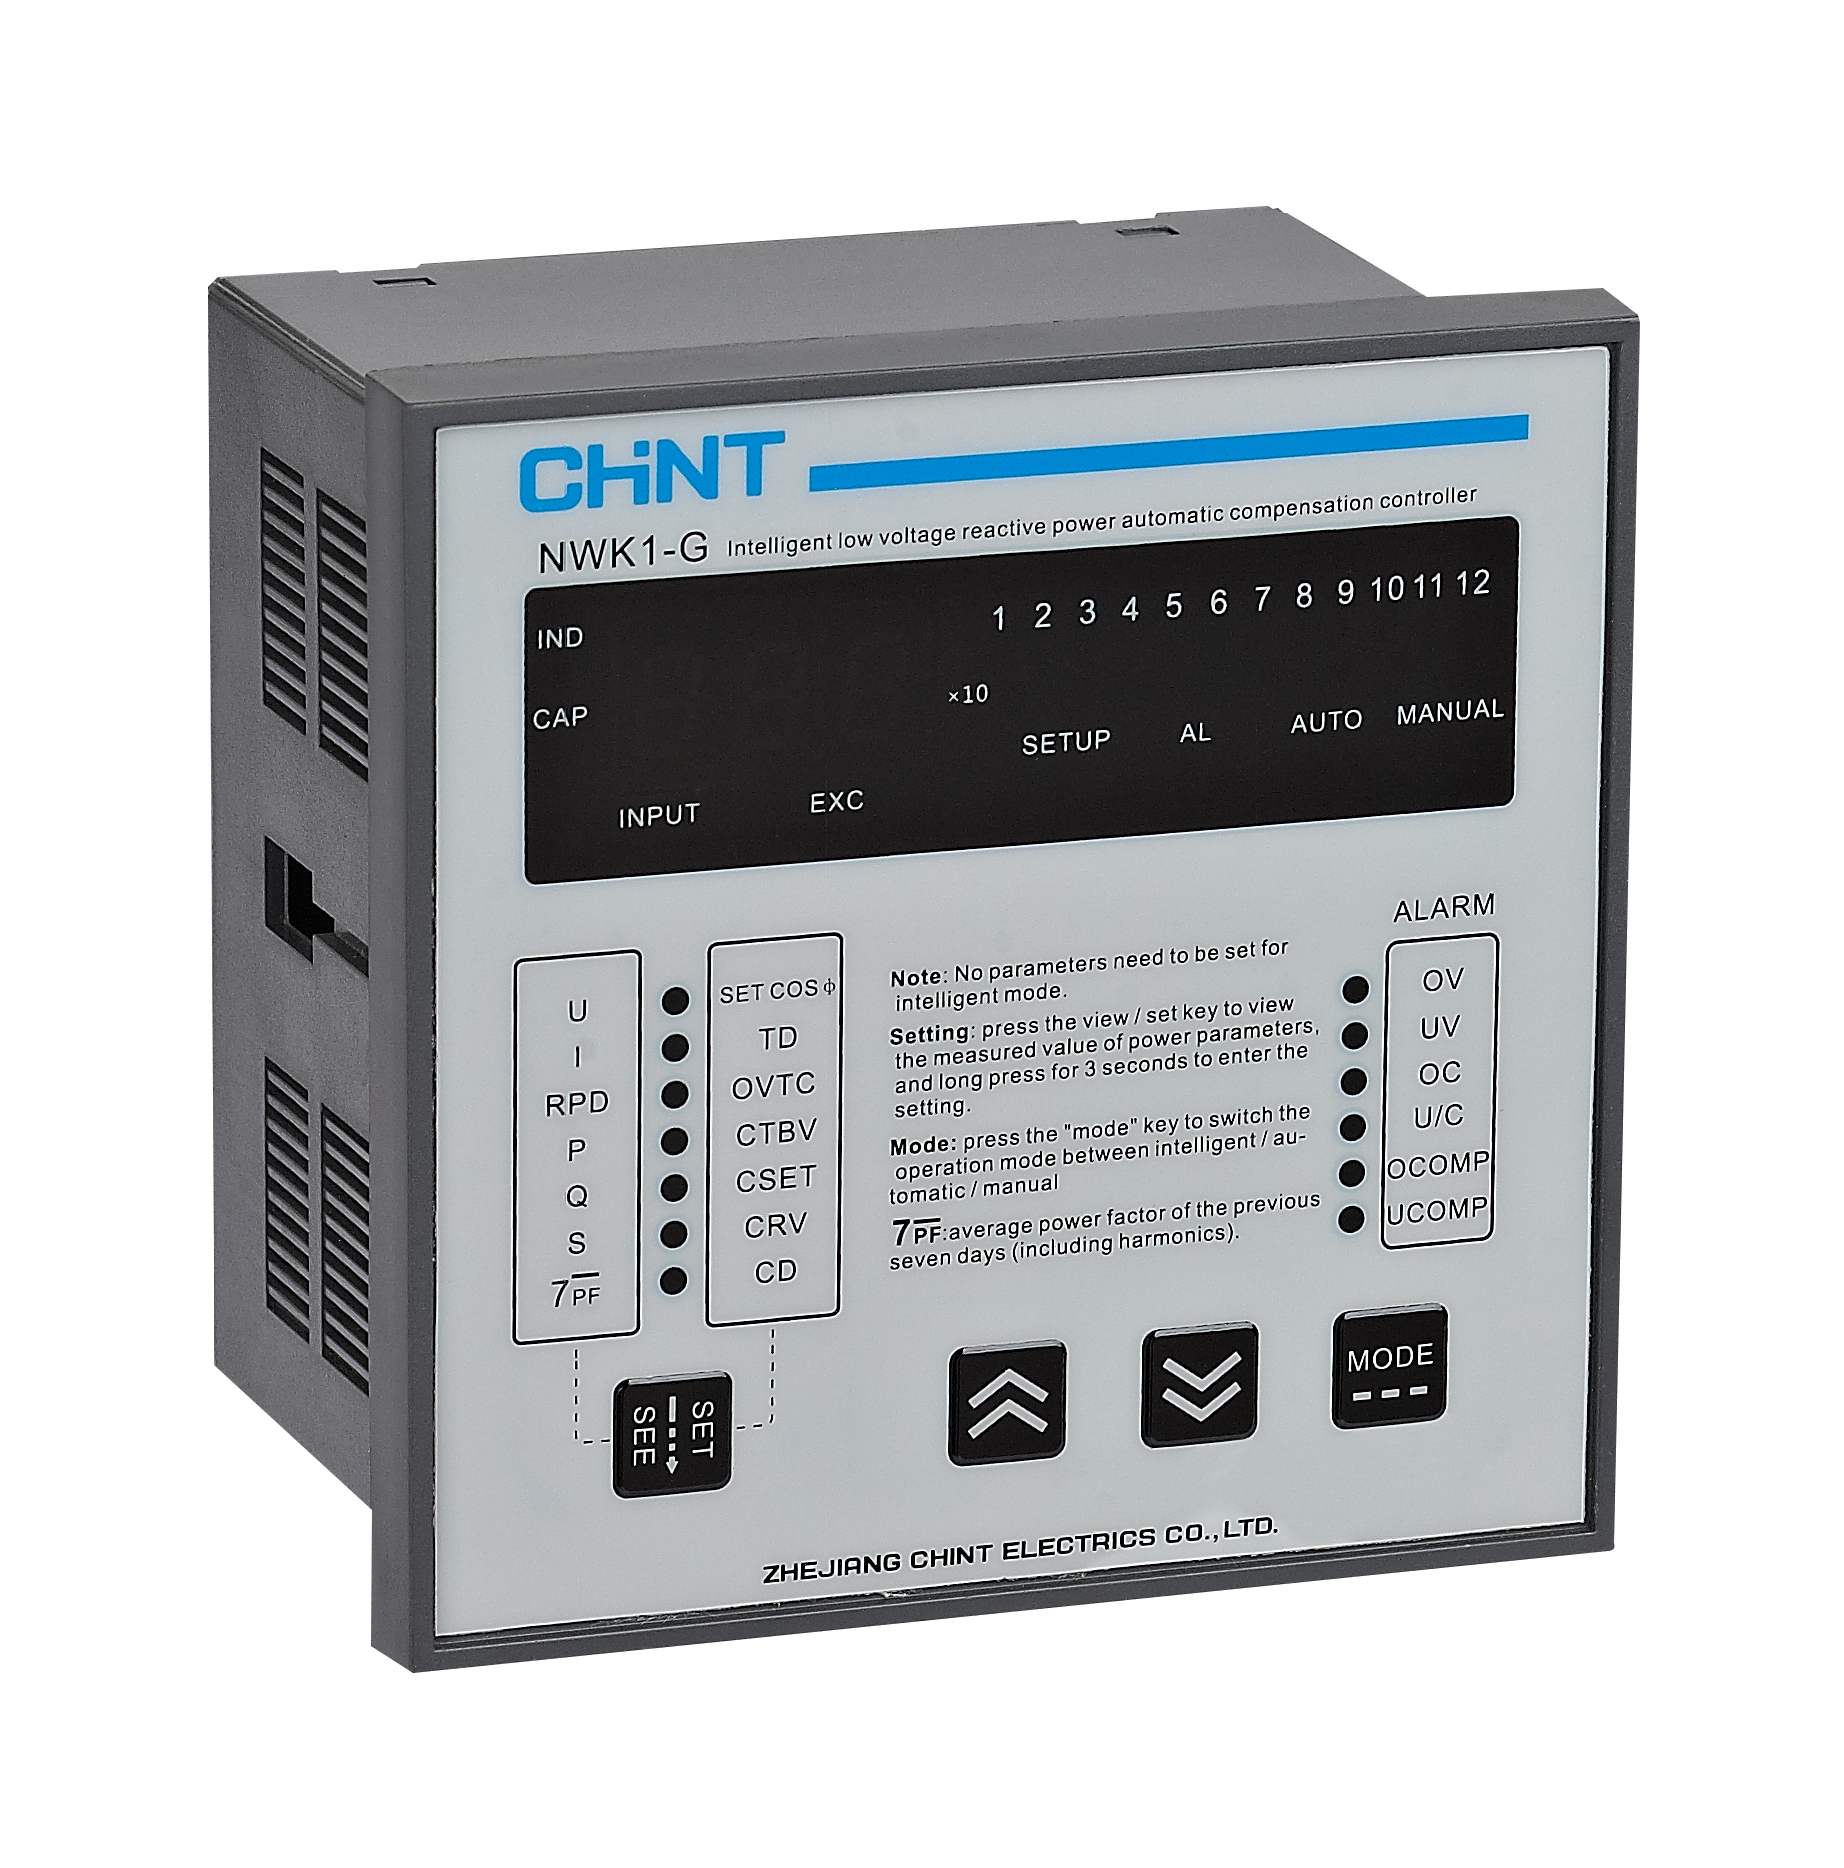
What is reactive power compensation? It is the process of managing and adjusting reactive power within an electrical system by using power electronic devices like capacitors. The NWK1-G Reactive Power Compensation Controller is designed to adjust the capacity of these capacitors. It helps improve the power factor and ensures efficient energy use.
This guide explores the precise installation steps of NWK1-G. The objective is to help you set up the controller with confidence and technical precision.
Preparations for Installing NWK1-G
Follow these guidelines to prepare for the installation:
1. Safety Precautions
Disconnect the main power supply before beginning. It eliminates the risk of electrical shock. It hence ensures a safe working environment.
Wear insulating gloves and protective glasses. These will shield you from potential electrical hazards. They are your first line of defense during the installation process.
2. Tools and Materials
Gather the right tools and materials for a successful compensation controller installation. The essential tools include:
- Wire strippers
- Crimping pliers
- Electric screwdriver
- Multimeter
- Measuring tape
- Drill
The required materials include:
- 1.5mm² wires for voltage and control output
- 2.5mm² wires for current sampling
- Wire lugs
- Mounting accessories
Installation Steps
Follow these guidelines for installation:
1. Pre-Installation Checks
Read the instruction manual to understand the controller’s specifications and installation requirements. This step ensures you have comprehensive knowledge before beginning.
Then, confirm that the controller parameters match the specific working conditions of your electrical system.
2. Controller Mounting
Drill a precise 113x113mm hole in the cabinet. Ensure clean and accurate cutting. The location should provide easy access and proper ventilation.
Align the controller carefully and use the provided fastening accessories to secure it firmly. Make sure that the mounting is level and stable.
3. Wiring Procedure
Strip wires to 11-13mm and attach wire lugs using crimping pliers. Ensure clean, precise connections.
Accurate wiring is critical for the NWK1-G Reactive Power Compensation Controller’s optimal performance. Refer to these:
- COM Terminal: Common terminal for internal relay operations, facilitating standardized signal routing.
- J1-J10 Terminals: Dedicated control output connections for precise capacitor bank switching and reactive power compensation.
- Fan and Alarm Terminals: Connect external monitoring components like cooling systems and warning notifications.
- Wire Identification: Distinguish control and sampling wires carefully. Control and output wires should be 1.5mm². Current sampling wires should be 2.5mm²
How to Test the NWK1-G
After installation, comprehensive testing validates the NWK1-G Reactive Power Compensation Controller’s performance. The key tests include:
1. Power-On Test
This test confirms the controller’s basic operational capabilities and reactive power compensation performance.
Monitor power factor changes after powering on. Observe smooth transitions and automatic reactive power compensation based on system load.
Verify that the power factor reaches the set operational value. Confirm the system stabilizes within the expected performance range.
2. Voltage and Current Verification
Check voltage and current measurements against expected values to confirm stability.
Troubleshooting
Even with careful installation, unexpected issues can arise with the NWK1-G Reactive Power Compensation Controller. Refer to this table to identify the cause of common issues and how to solve them:
Symptom |
Cause Analysis |
Solution |
Black Screen/No Display |
Auxiliary power supply AC220V±20% is not connected |
Measure voltage between power supply terminals, and ensure AC220V connection |
The controller is faulty |
Replace the controller if voltage measurements are not AC220V |
|
COS Show “----” Constantly |
(1)Sample <20mA blocking current with the display “----” Sample <20mA blocking current with blocking activated (2)Current transformer or controller is faulty |
(1)Check load conditions, verify CT ratio is appropriate (2)Check CT short-circuit bridge or open wiring (3)Measure la phase sampling end |
Activate some capacitors manually, but the COSф value on the controller does not change |
(1) The phase sequence or polarity of the sampled voltage Ubc and current la is wrong, and the voltage and current are connected across phases (2) On-site compensation cabinets and auxiliary cabinets are used (3) COSф shows negative value, such as: -0.87L Wiring error or in power generation state |
(1) Connect the wires correctly according to the wiring requirements in 5.2 (2) Before debugging, disconnect the auxiliary cabinets first (3) Activate capacitors manually, and compare the changes of the COS value and the reactive power value to determine the wiring (4) Restart the controller power to automatically recognize the phase again |
*Check the full table for a more comprehensive troubleshooting guide
Conclusion
Installing the NWK1-G Reactive Power Compensation Controller requires precision and technical understanding. At CHINT, we provide comprehensive support to ensure successful implementation. Get in touch and explore our complete range of power solutions and innovative technologies.


