Table of Contents |
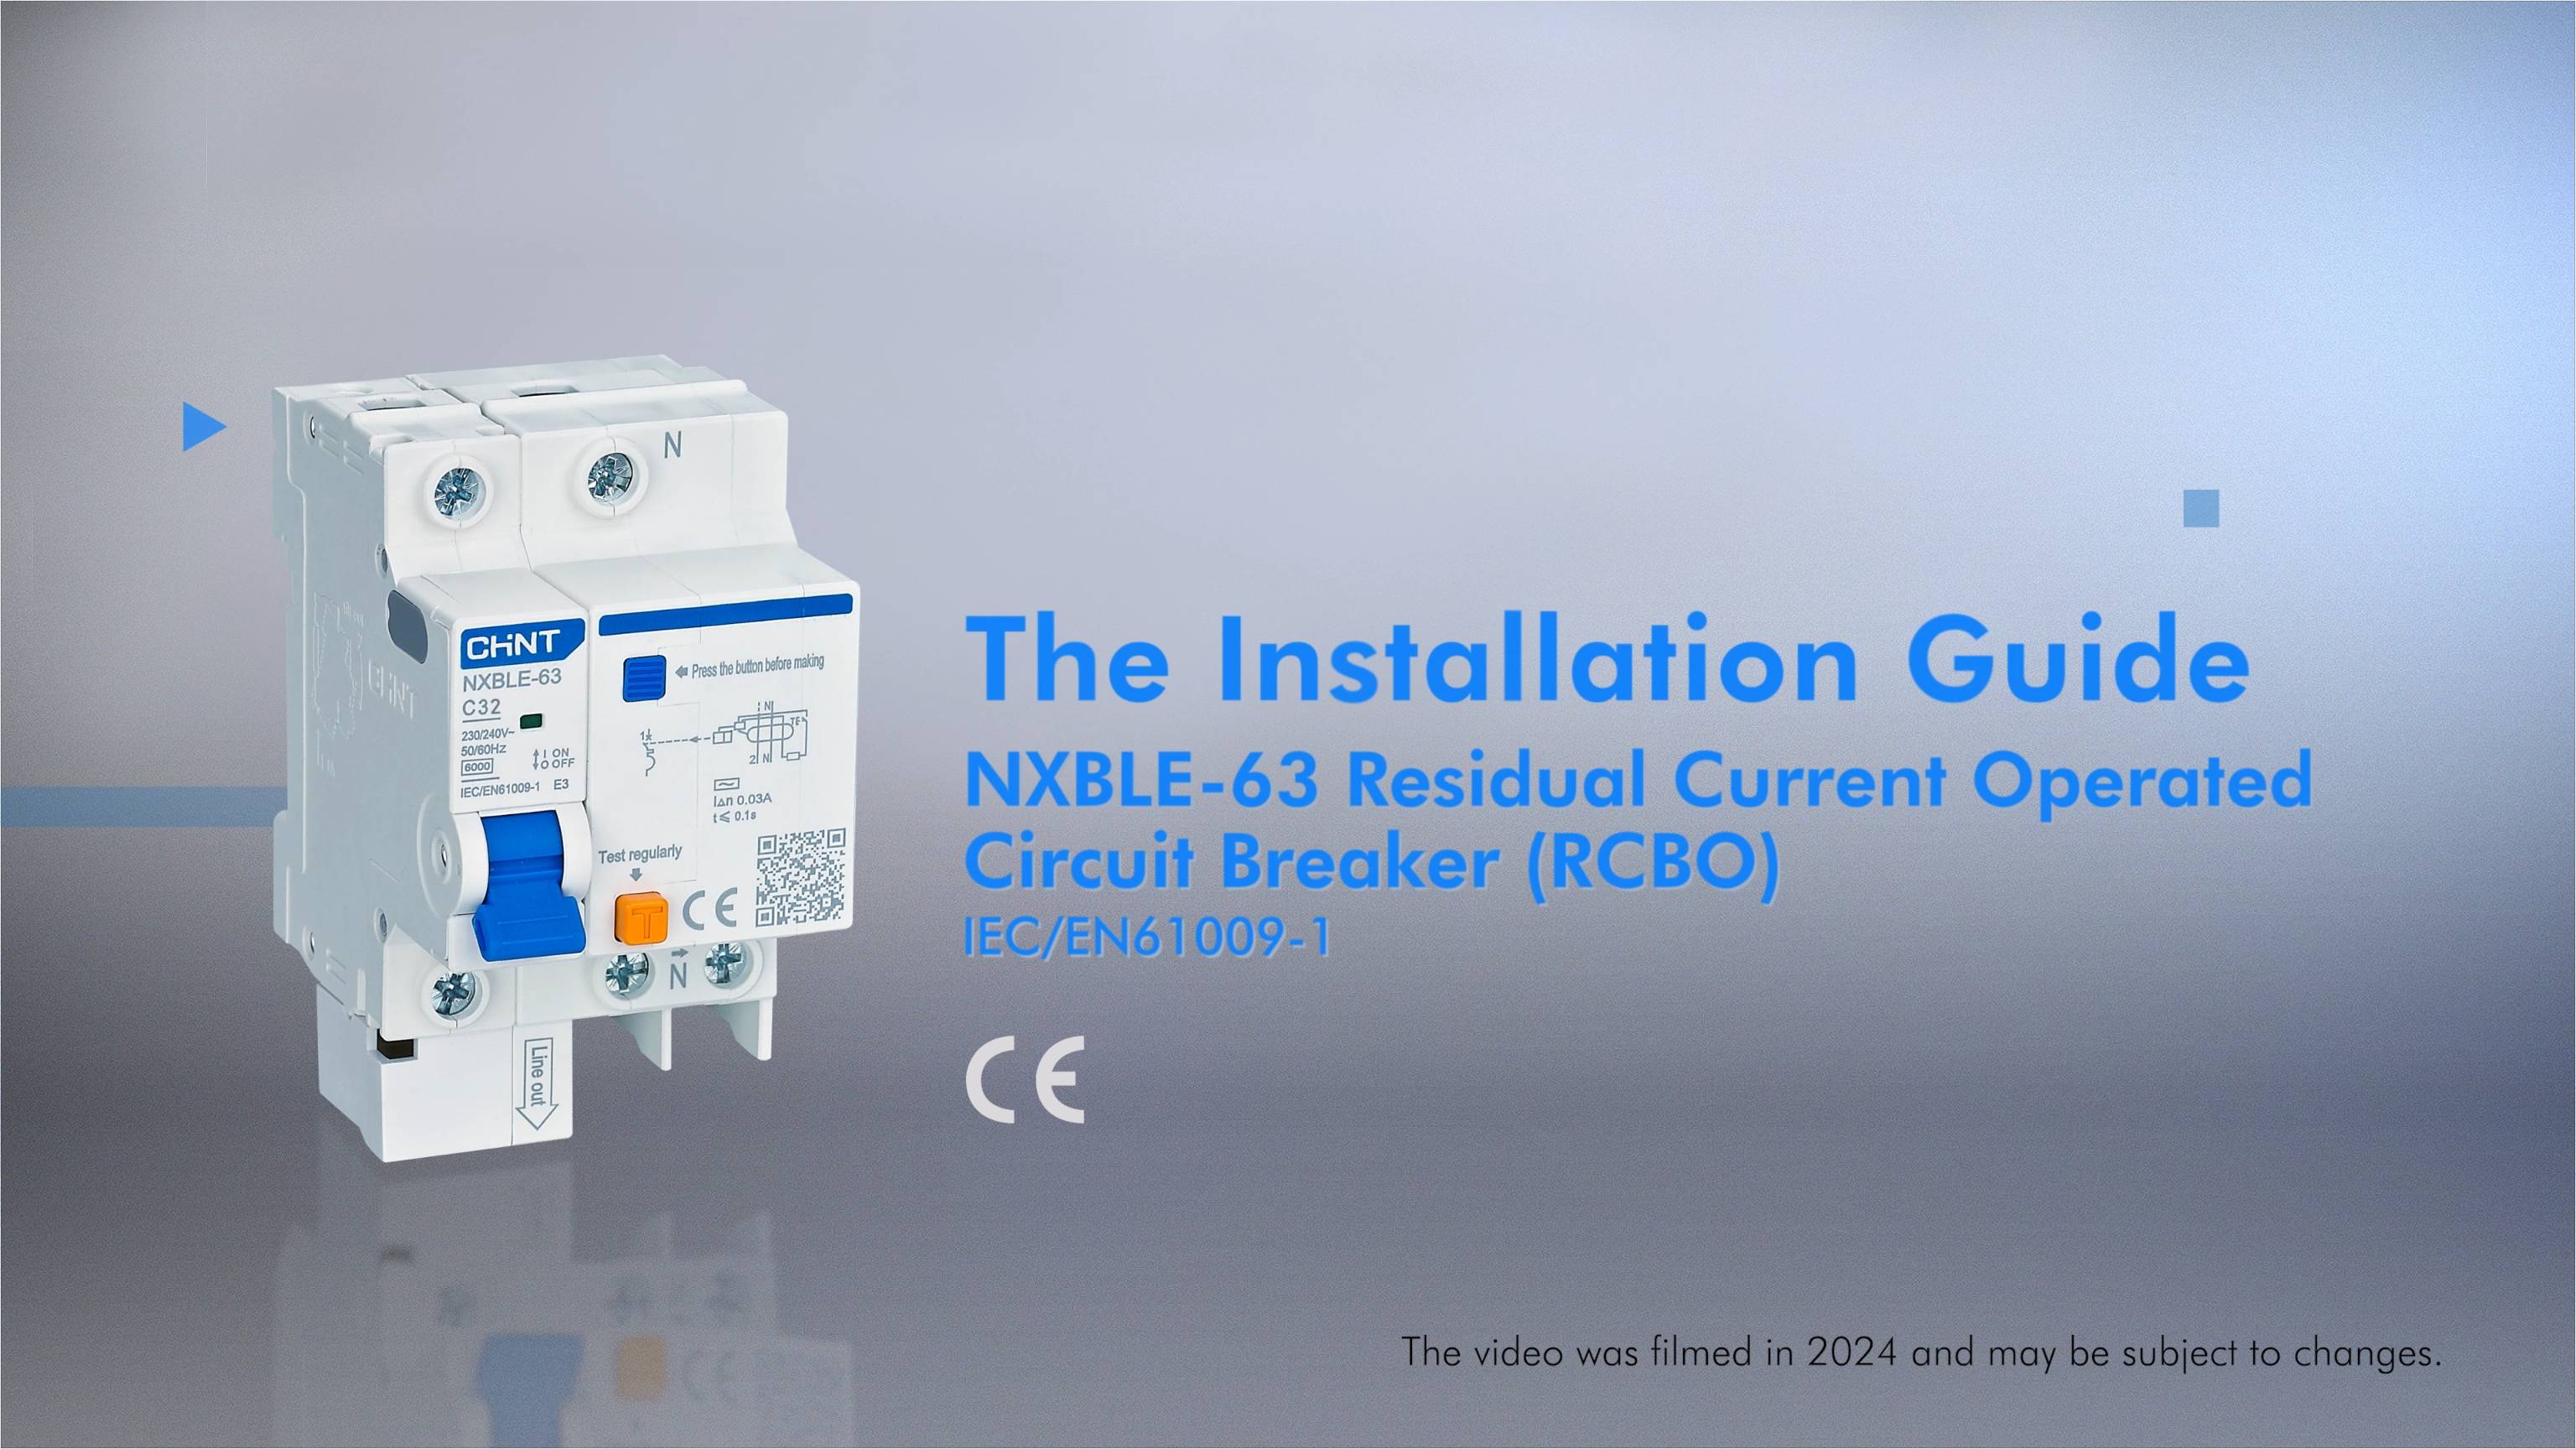
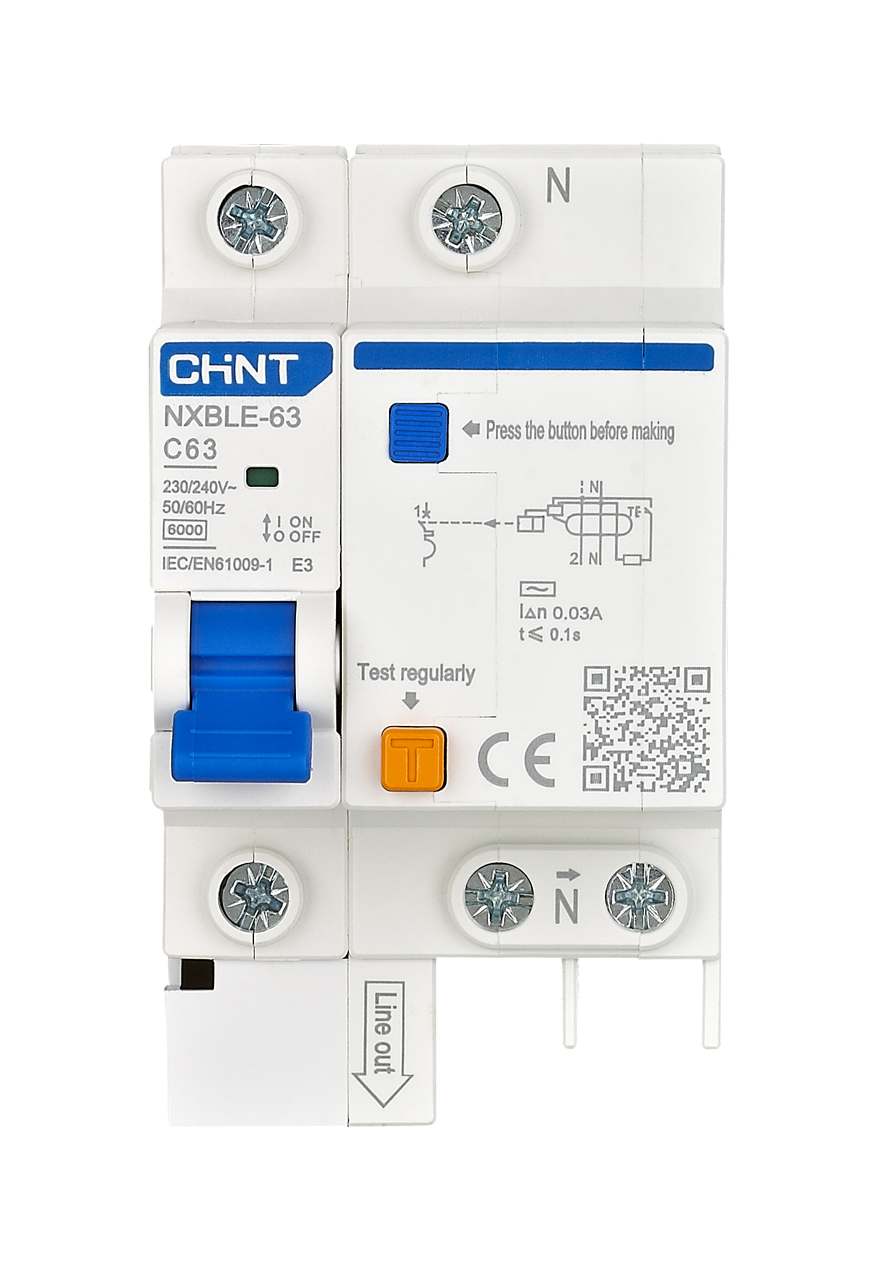
The NXBLE-63 Residual Current Operated Circuit Breaker(RCBO) is a sophisticated device. It protects electrical circuits from overcurrent. It’s also effective against ground fault conditions. The RCBO is a compact unit. It combines the functions of two devices in a single module. One is the overcurrent circuit breaker, and the other is the residual current device. This comprehensive guide presents the precise installation process. The purpose is to help you ensure the safe and efficient implementation of this critical electrical protection component.
Preparing for Installation
The NXBLE-63 Residual Current Operated Circuit Breaker installation requires attention to detail. Careful preparation and proper groundwork are essential. The following are crucial preparatory steps:
1. Safety Precautions
Power disconnection is the first and most critical safety measure. Turn off the main power supply before beginning. This step prevents potential electrical shock. It eliminates the risk of accidental energization. It brings peace of mind and safety for a residual current circuit breaker with overcurrent protection installation.
Personal protective equipment is also crucial. It’s recommended to wear insulating gloves. These provide good electrical protection. Protective goggles are also recommended. They shield your eyes from potential sparks or debris.
2. Required Tools and Materials
Successful residual current operated circuit breaker installation demands a specific set of tools and materials. These include:
- Wire strippers
- Crimping tools
- Multimeter
- Electric screwdriver
- Flathead screwdriver
- Wire lugs
- Wires of appropriate specifications
Select wire specifications carefully. The cross-sectional area must match the RCBO’s current rating. Our recommended CHINT RCBO wire specifications range from 1 mm² to 16 mm², depending on the breaker’s amperage.
Pre-Installation Steps
Understanding the circuit breaker’s specifications is a key preparatory action. Selecting an appropriate installation location is equally important. These steps ensure optimal performance and safety of the residual current circuit breaker with overcurrent protection:
1. Reading the Instructions
Verify that the NXBLE-63 RCBO’s parameters precisely match your specific working conditions. Check CHINT RCBO voltage ratings, current capacity, and environmental specifications before proceeding.
Choose a residual current operated circuit breaker installation location that’s easily accessible. It should be well-ventilated and away from direct moisture or extreme temperatures. The location should allow convenient operation and maintenance.
2. Inspecting the Equipment
Carefully examine all components of the residual current circuit breaker with overcurrent protection for any damage or manufacturing defects. Ensure all parts are intact and meet quality standards before beginning installation.
Installing the NXBLE-63 RCBO
Mounting on the DIN Rail requires precision and careful alignment. Position the bottom edge of the residual current circuit breaker against the lower rail edge. Then, gently push upward until secure. Apply firm, even pressure to ensure the residual current operated circuit breaker locks into place. Verify that it’s firmly seated and cannot be easily dislodged.
Wiring the Circuit Breaker
Proper wiring is the backbone of a successful CHINT RCBO installation. Follow these guidelines:
1. Choosing the Correct Wire
The wire’s cross-sectional area must precisely match the circuit breaker’s current rating. This ensures optimal residual current circuit breaker performance and prevents potential overheating or electrical failures. Use this reference table for optimal selection:
Rated Current (A) |
Recommended Wire Cross-Section (mm²) |
6 A |
1 |
10 A |
1.5 |
16 A |
2.5 |
20 A |
2.5 |
25 A |
4 |
32 A |
6 |
40 A |
10 |
50 A |
10 |
63 A |
16 |
2. Wiring Process
Use high-quality wire strippers to remove 11-13mm of outer insulation. Ensure the exposed length is consistent and free from nicks or damage.
Wire lugs require secure crimping to establish reliable electrical connections. Position the wire lug carefully. Align it perfectly with the exposed copper. Use the crimping tool to create a tight, uniform connection that minimizes electrical resistance.
Next, use an electric screwdriver set to the manufacturer’s recommended specifications, typically around 2.0 N.m. This precise tightening ensures secure residual current operated circuit breaker connections without damaging the terminal or wire.
3. Connecting Inlet and Outlet Ends
Carefully follow the product’s labeling and installation instructions when connecting electrical lines. Each residual current circuit breaker terminal is specifically designed for incoming or outgoing connections. Misplacement can lead to serious electrical hazards. Connect the incoming power lines to the appropriate input terminals and the load lines to the output terminals.
4. Compliance with Standards
Adherence to local electrical regulations is crucial during the residual current operated circuit breaker wiring process. Make sure your installation meets all relevant safety codes and municipal guidelines to guarantee a safe, compliant electrical setup.
Testing and Commissioning
The testing and commissioning phase validates the circuit breaker’s functionality. It ensures electrical safety and confirms proper installation.
1. Pre-Power Checks
Verify that the circuit breaker’s handle operates smoothly without resistance. Confirm all connections are tight, secure, and correctly positioned. Check that no loose wires or potential short-circuit risks exist in the installation area.
2. Testing After Power-On
Use a multimeter to perform detailed electrical testing. Measure the voltage across different terminals, checking for correct readings. Verify continuity to ensure uninterrupted electrical pathways. Confirm incoming line to neutral voltage is approximately 230 volts. The outgoing line to neutral should be below 20 volts.
Next, systematically test the residual current operated circuit breaker through multiple operational scenarios. Verify performance in OPEN, CLOSED, and TRIPPING states. Check that voltage drops appropriately when the breaker opens and returns to normal when closed.
3. Using the RCD Test Button
The residual current device (RCD) test button allows direct verification of automatic tripping functionality. Press the button to simulate a ground fault condition. Confirm the circuit breaker trips immediately and automatically.
Conclusion
Installing the NXBLE-63 RCBO requires attention to detail and strict adherence to safety protocols. Safety precautions, gathering the right tools, and pre-installation steps are crucial. Then, you can proceed with installation, wiring, and finally, testing and commissioning. At CHINT, we provide reliable electrical protection solutions that prioritize safety and performance. For comprehensive guidance and support, visit our website.


