Table of Contents |
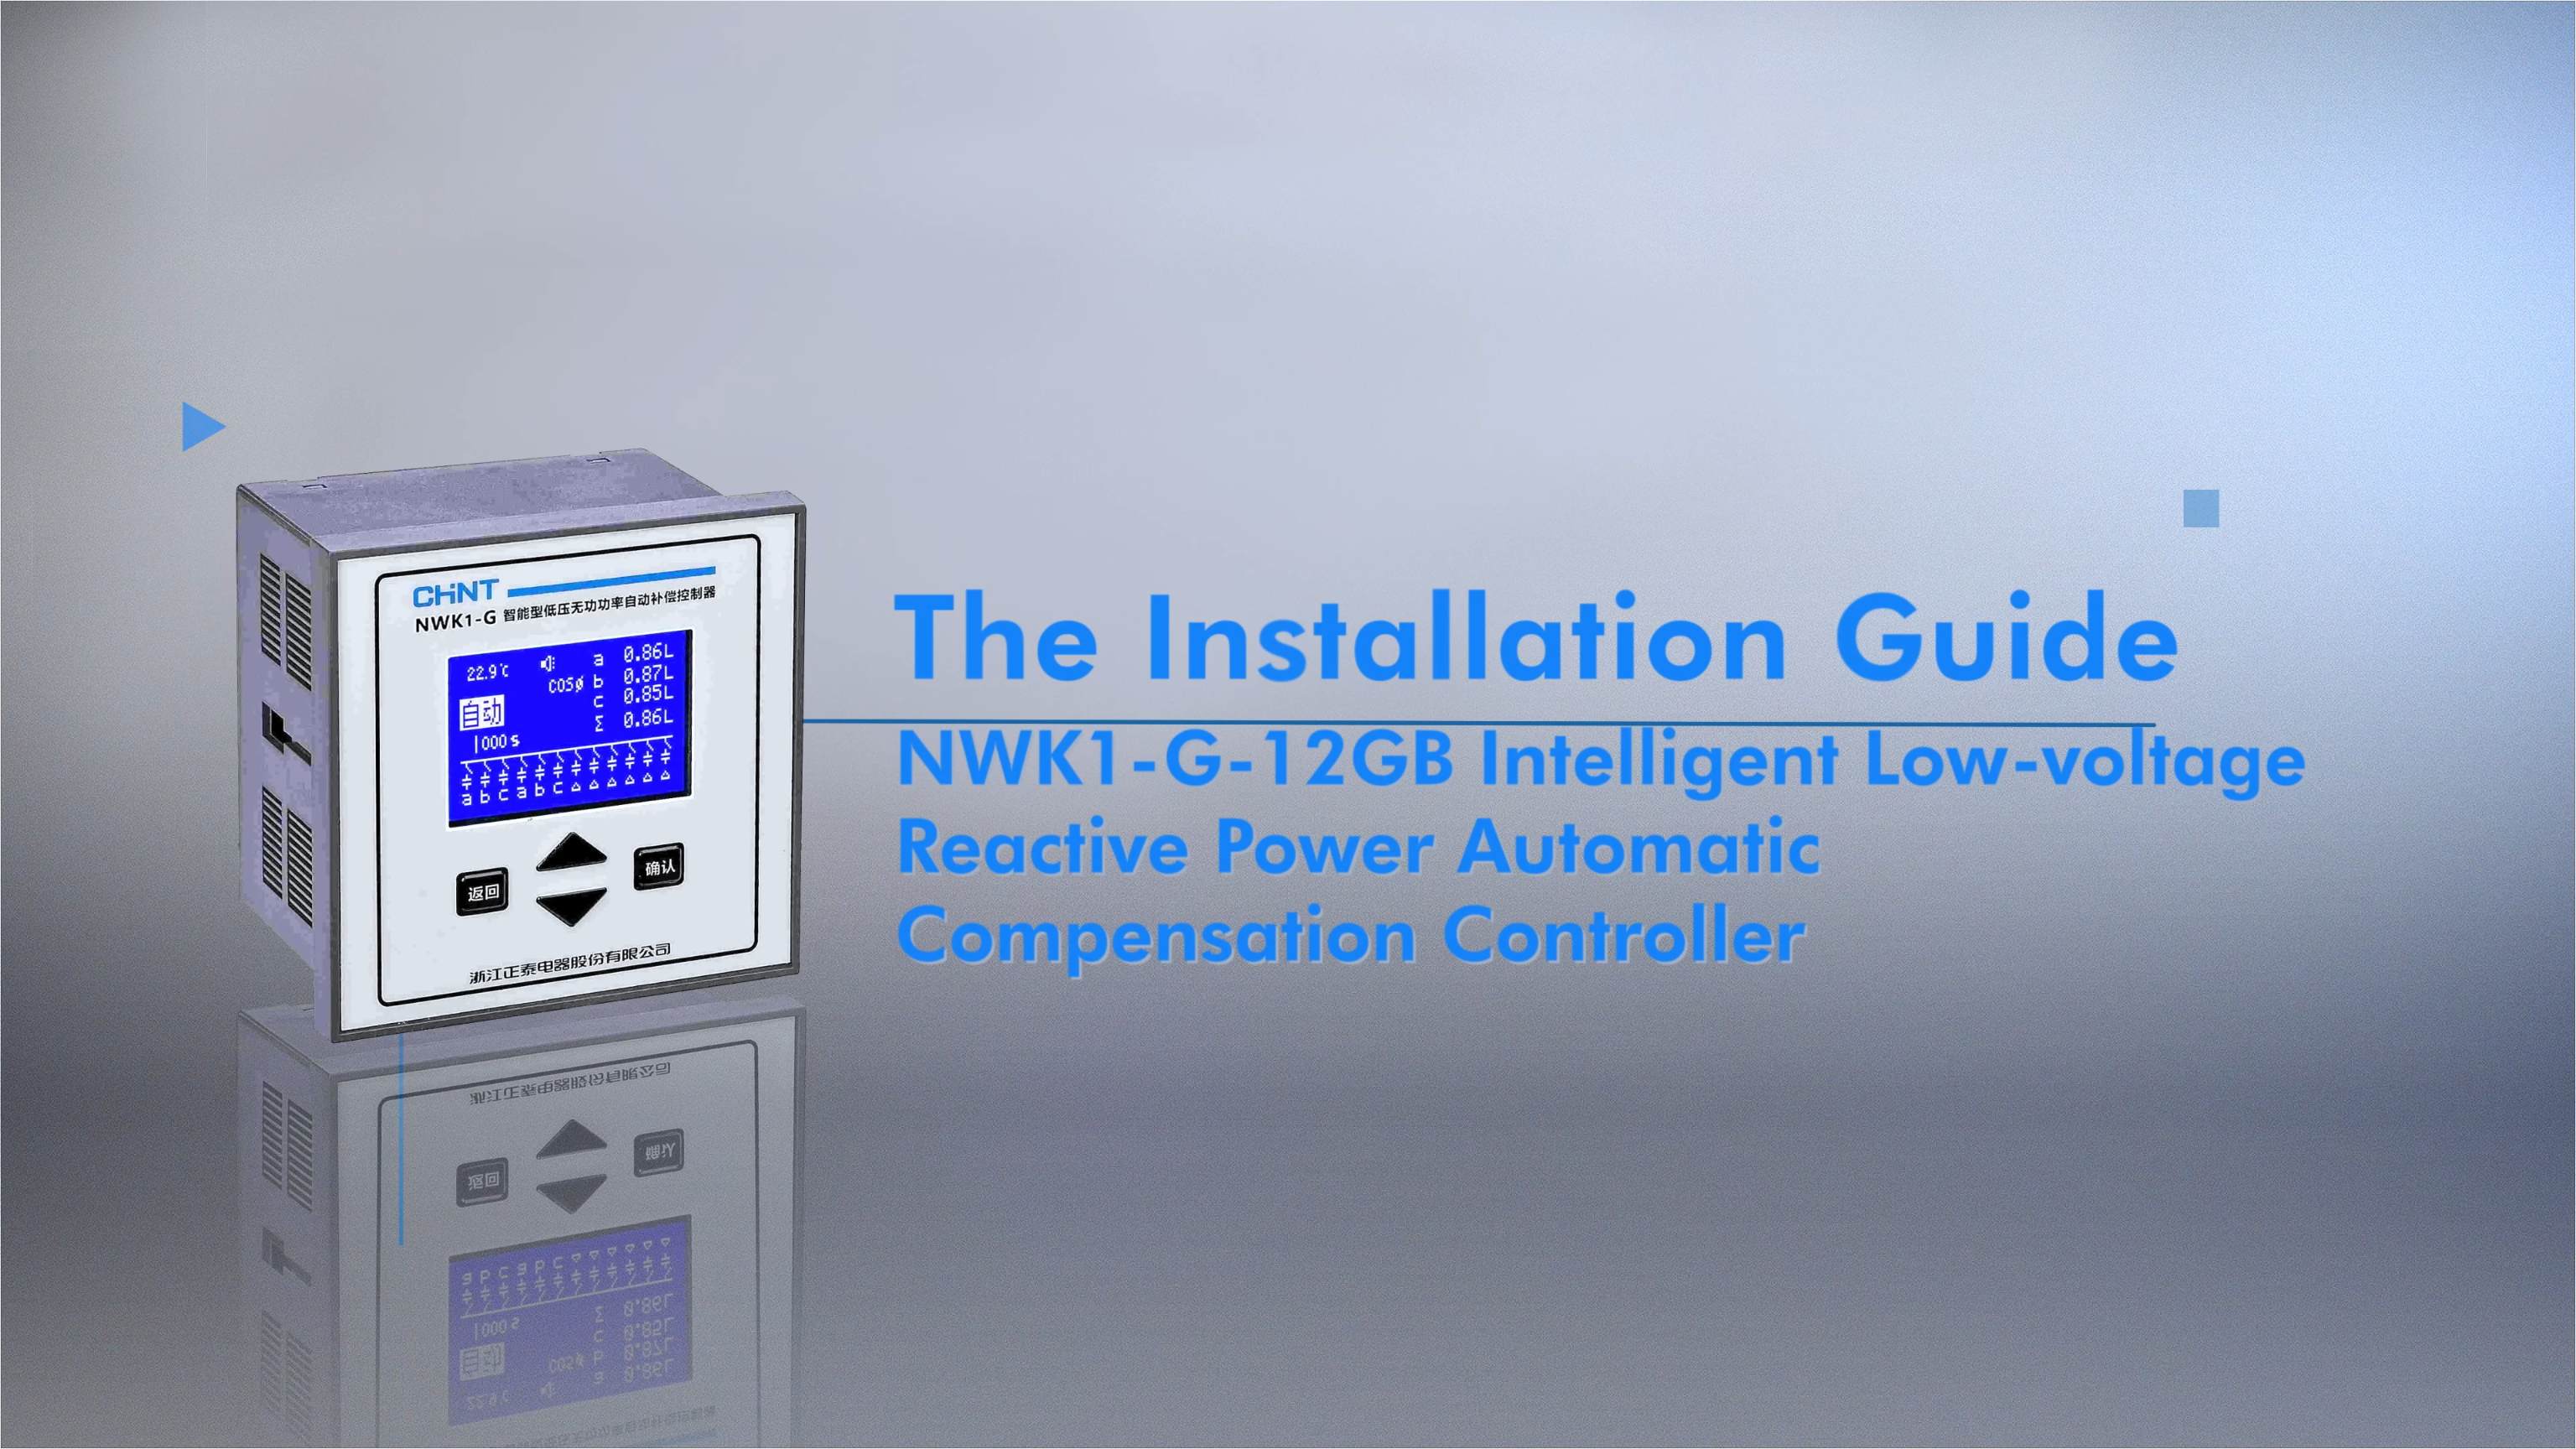
The JKF8-12 is an intelligent low-voltage reactive power auto compensation controller. This sophisticated device helps improve power quality and reduce energy losses. It enhances overall electrical network efficiency. This article provides a comprehensive installation guide. It aims to help you safely install this device and troubleshoot it to ensure optimal performance and reliability.
Necessary Tools for the Installation
Installing the JKF8-12 compensation controller requires careful preparation and the right equipment. The essential tools include:
- Insulated Gloves: They protect against electrical hazards and ensure personal safety.
- Wire Strippers: These precisely remove insulation from electrical wires.
- Wire Crimping Pliers: They securely attach wire noses and ensure reliable connections.
- Wires of Appropriate Specifications: The goal is to match LV controller requirements for proper functionality.
- Wire Noses: These facilitate clean and secure wire connections.
- Screwdrivers (electric, hand): These enable precise screw tightening and terminal connections.
- Multimeter: It helps to verify electrical connections and diagnose potential issues.

Installation Steps
Follow these guidelines for a successful installation of the JKF8-12 compensation controller:
1. Pre-Installation Check
Before starting, thoroughly review the specifications and compatibility of the LV controller with your existing electrical infrastructure. Verify that all system parameters align with the JKF8-12’s requirements.
2. Controller Mounting
Select an appropriate location within the electrical cabinet. Make sure there’s sufficient ventilation and protection from environmental factors. The mounting area should have a size of 113x113mm and provide easy access for future maintenance. The ambient temperatures should be between -10°C to +55°C. Relative humidity should not exceed 90% to prevent potential performance degradation.
3. Fastening the Controller
Use the provided mounting accessories to securely attach the controller. Ensure stable positioning using the designated mounting holes and fastening screws. Apply gentle torque to mounting screws to prevent over-tightening while maintaining secure attachment. Rotate the screw on the accessory clockwise.
4. Wiring Identification
Carefully identify and map out all necessary wire connections. Double-check each LV controller connection point to prevent potential errors during the installation process. Utilize the controller’s standard color-coding system for ease of wiring setup.
5. Wire Preparation
Strip wire ends with precision. Make sure that the copper length is appropriately exposed. The exposed copper wires should be 1.5mm² for voltage and control outputs and 2.5mm² for current sampling. Then, use wire crimping pliers to attach wire noses.
6. Connection of Ports and Terminals
Connect specific ports and terminals of the compensation controller according to the detailed wiring diagram. Pay close attention to voltage, control outputs, and current sampling requirements of compensating controls. Ensure connections to ports 1-12 for respective capacitor bank switching contactors. Also, ensure proper mapping of com, US2, and US1 to power supplies L1, L2, and L3 respectively.
7. Tightening
Finally, use a hand screwdriver to securely tighten all wire connections of the compensation controller. Tighten the wires until the screws reach the end.
Observe Whether the Product is Working Normally
After completing the installation, it’s critical to verify the operational status of the compensation controller. Carefully observe the system’s performance and monitor its initial functioning.
Should you encounter any issues, our comprehensive troubleshooting guide offers solutions to common problems. The following are a couple of common troubleshooting scenarios and suggestion solutions:
1. Undercurrent Status Display
Symptom: Controller consistently displays an undercurrent status "≡1.
Potential causes |
Troubleshooting methods and precautions |
The sampling current may be less than 150mA or the secondary circuit of the current transformer may be open |
Check the sampling transformer and its secondary circuits for potential openings |
Potential fault in sampling transformer or controller |
If IS1 and IS2 sampling currents exceed 200mA, consider replacing the compensation controller |
2. Frequent Capacitor Switching
Symptom: Rapid and excessive capacitor bank switching.
Potential causes |
Troubleshooting methods and precautions |
Rapid load current fluctuations and inappropriately low delay time settings (less than 10s) |
Increase delay time to a minimum of 30 seconds |
Low target power factor |
Adjust target power factor to more appropriate levels |
Low reactive power threshold |
Raise reactive power switching threshold |
For a more direct look into the installation process and troubleshooting guide of the JKF8-12 Compensation Controller, check out our YouTube video:
Conclusion
Installing the JKF8-12 Intelligent LV Reactive Power Auto Compensation Controller requires precision and careful execution. By following these detailed steps, you’ll ensure optimal performance and reliability. At CHINT, we are committed to providing top-tier technological solutions. Our expert technical support team offers services to assist you throughout the installation process.